Makinze is currently Food Editor for Delish, where she develops recipes, creates and hosts recipe videos and is our current baking queen.. Reigning from Oklahoma, she's also our go-to for all things regarding Midwestern cuisine. She's also our expert pie crimper.

What on earth does blind baking a pie crust even mean? You've probably run across this instruction or been told to par-bake a crust while baking a pumpkin pie. Luckily, it's nothing complicated. It simply means that you need to bake your crust without any filling, either partially or completely. It will help create a crispier crust on the bottom and make it more stable (and never soggy!) when you go to take a slice out of your perfectly crimped pie. It's very helpful and highly recommended on a lot of pies. There are a couple tricks, like using pie weights to make your blind baking more successful.
Grab Your Pie Weights
The first thing you'll need when blind baking pie crust is some pie weights. (Read all about pie weights here.) You can purchase food-safe pie weights that are reusable, or you can also use dried beans or rice. Essentially, you need something that will add weight to your crust so that while it's baking it won't bubble up and create giant air pockets. You want to add enough pie weights to come up almost to the edge of your crust in an even layer. People often add too little not allowing the weights to do their job. After removing them from the pie, let them cool down and store to use again on your next Thanksgiving pie.
How To Partially Blind Bake Crust
For pies with a filling that also needs to bake, you'll only want to par-bake your pie crust, which means baking it until just lightly golden. Once you add the filling, the pie crust will finish baking and become that beautiful dark golden color you are looking for.
Start with a well chilled pie crust that has already been crimped. (Check out all our crimping tips here.) Use a fork to poke holes all over the bottom and up the sides. Place a piece of parchment paper inside the crust, ensuring it's not digging into your edges, but tall enough so that it's higher than the edge for easy removal. Fill the entire bottom with pie weights and place pie plate on a large baking sheet.
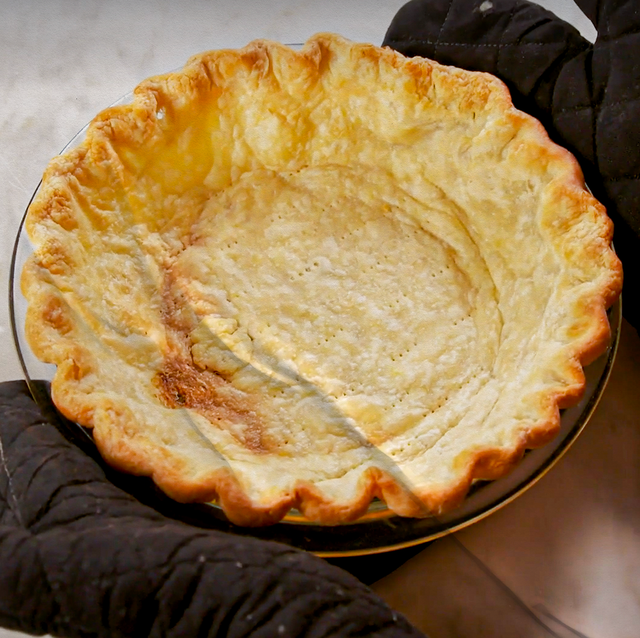
Bake pie crust at 425° for 15 minutes. Edges of your crust should take on a pale golden color. Remove pie from oven and carefully remove parchment paper. Return to oven and bake for another 5 to 7 minutes. Edges should be evenly golden and a shade darker than previous, while the bottom of the crust will be pale golden and still appear shiny from the butter. Remember, you are going to bake this again!
Remove your crust from the oven and fill with your pie filling, then bake according to the recipe's instructions.
How To Fully Blind Bake Crust
If you are making a pie that doesn't require the filling to be baked (may we suggest our Pumpkin Chiffon or Chocolate Pudding Pie), you'll want to ensure your crust is fully baked before adding the filling. This means you'll be looking for dark golden coloring all over so that it stays crispy and flaky.
You'll start the same way with a well chilled and crimped crust. Poke holes with a fork across the bottom and sides, then add your parchment paper and fill with pie weights. Place on a large baking sheet.
Bake at 425° for about 15 minutes, looking for that pale golden color. You can afford to go up to 5 minutes more on this one for a slightly darker color on the edges. Remove pie plate from oven and carefully remove the parchment paper. Return to oven and bake for another 12 minutes or until edges are dark golden and bottom crust is no longer shiny and baked through.
Let your crust cool completely before adding your pie filling.
- Yields:
- 1
- Prep Time:
- 10 mins
- Total Time:
- 10 mins
Ingredients
- 1 1/2 c.
all-purpose flour
- 1 tbsp.
granulated sugar
- 1/4 tsp.
kosher salt
- 1/2 c.
(1 stick) cold butter, cut into cubes
- 1/2 tbsp.
apple cider vinegar
- 4 tbsp.
ice water, plus more as needed
Directions
- Step 1In a large bowl, combine flour, sugar, and salt. Add butter and use your hands to cut butter into flour until walnut-sized pieces, tossing butter to keep fully coated in flour as you work.
- Step 2Add vinegar and 4 tablespoons water and mix with your hands to combine. Add more water, 1 tablespoon at a time as needed, until dough squeezes together easily. It should be moist with minimal dry streaks, but not wet or sticky. Flatten into a disk and wrap in plastic wrap. Refrigerate until well chilled, at least 2 hours and up to 3 days.
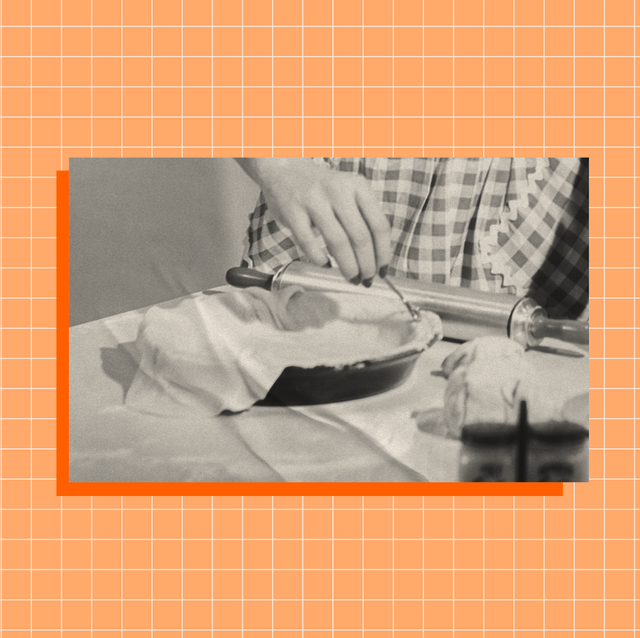
- Step 3Let chilled dough sit out at room temperature for 5 minutes. On a lightly floured surface, roll crust out into a 12" circle. Drape crust over 9" pie plate and gently lift sides and press to fit into pan (don't stretch). Refrigerate 10 minutes.
- Step 4Trim edges of crust to 1/2" overhang. Tuck overhang in to be flush with edge of pie plate, gently squeezing together, then crimp edge of crust. Refrigerate 30 minutes.
- Step 5Preheat oven to 425°. Place chilled pie on a large baking sheet and use a fork to poke holes across bottom of crust and up sides. Place a piece of parchment paper in pie plate that is tall enough to remove later. Fill entire center with pie weights.
- Step 6Bake until edges are a pale golden, about 15 minutes. Carefully remove parchment paper. Return crust to oven and bake 5 to 7 minutes more for a par-baked crust or 12 to 15 minutes more for a fully baked crust.

