So, you've signed up to bring the Pecan Pie this year and want to impress everyone at Thanksgiving? I got you. Pies are so beautiful, but they can have a mind of their own. We've all worked tirelessly on a pie only to have a crust fall in on us or not look anywhere as beautiful as we hoped. Luckily for you, I've made every mistake in the book so that you don't have to. Learn from my failings and take these few sacred tips to heart, then read on for four pie crimp techniques are easy enough for any level of baker to pull off. I guarantee you'll have stunning pies that no one will believe you made. Time to get that butter chilling!
1. Keep Everything Cold At All Times
Before we even begin talking techniques, we have to acknowledge the importance of cold pie dough. Temperature is crucial in holding your crimp designs, so I'm telling you now that you'll definitely regret skipping any chill times. If at any point you feel your dough is getting warm, don't be afraid to pause and let it hang out in the fridge for a few minutes. I've been halfway through crimping a crust and had to let it chill for 15 minutes before I could continue—that's OK! Your butter should never get warm or you'll risk tearing the dough in the process. So have some patience.
2. Let Your Dough Relax
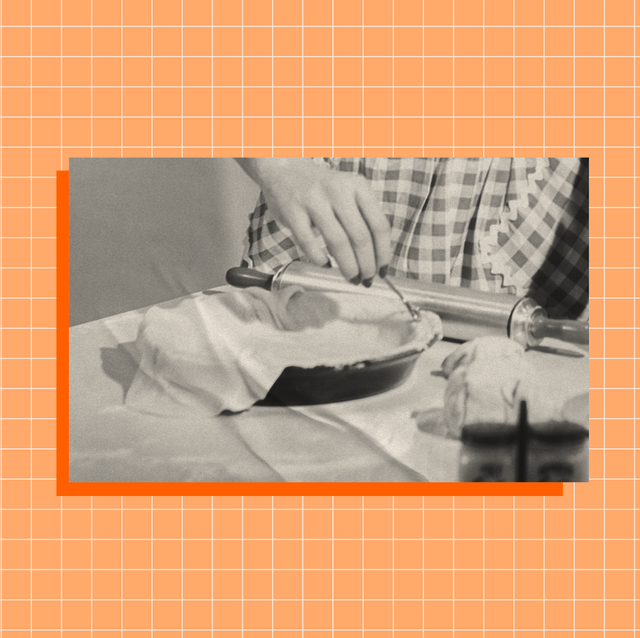
Start with your favorite pie dough that has already been chilled. Roll it out on a lightly floured surface into a large circle. Aim for about 3" wider than the pie plate you are using to ensure enough overhang on the edges. Transfer the dough to your pie plate and very gently (without stretching!) lift and press the sides into the plate. Try to make sure there are no gaps between the plate and dough around the edges.
This next part is CRUCIAL. Don't trim your dough just yet. Let your dough chill in the refrigerator for at least 10 minutes first. This will let your dough rest after you've really worked in the gluten. If you were to try and trim the crust at this point it would spring back together and start to shrink. This will lead to a crust that falls in and sinks in the oven. You've seen this in action if you've ever been rolling out pizza dough that no matter how much you attempt to stretch it, it stubbornly springs back to the same size. All this means is that the dough needs to relax a little before it will stretch. I made this mistake manyyyyy times before finally learning and my pies have been better for it ever since.
3. Create A Crimp-Worthy Edge
Many people worry about the edges of their pies cooking too quickly and burning, but there are ways to avoid this. Now that your dough has relaxed, trim the overhang to about 1/2" to 1". Tuck this overhang under so that the edge is now flush or even just slightly over the edge of the pie plate. This double layer creates a stronger crust that won't bake too quickly and will better hold up in the heat of the oven to hold its shape.
Classic Finger Crimp
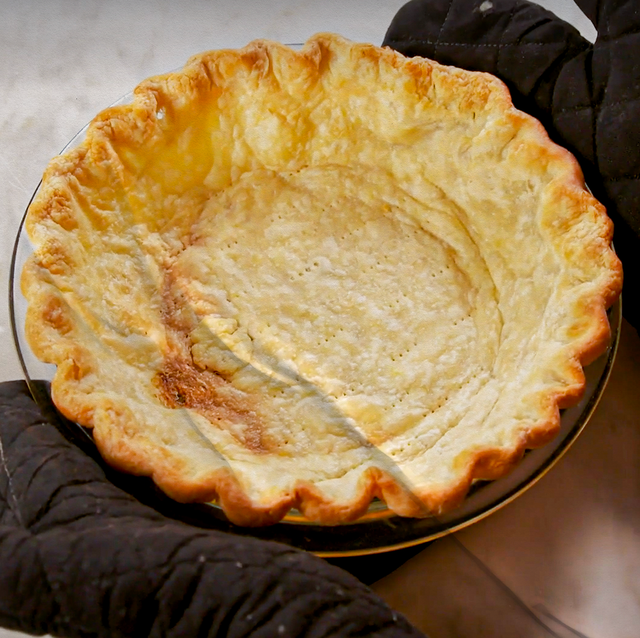
This is the standard pie crimp you'll see—classic and beautiful. After tucking your overhang around the edge, leave that edge standing up around the sides to give it the height that it needs. Take your left index on the outside and press in towards the middle while your right index finger and thumb pinch from the inside. You can make these as skinny or wide as you like. Go around the entire edge to crimp. Let chill at least 30 minutes before baking.
Rope Crimp
This one looks like a slightly elevated finger crimp, but doesn't require more skill. It starts the same way with the crust edge folded underneath, but still standing up. Angle your two index fingers with one on each side of the crust, holding them parallel to each other. Squeeze the crust between your fingers allowing it to raise up. I like to allow the outside finger to stay stable while the inside finger really pushes the crust towards the outside. Keep your fingers at the same angle as you move along the edge of the crust. Let chill at least 30 minutes before baking.
Fork Crimp
Using things you have on hand is the best trick for creating pretty edge designs. Tuck the crust underneath, only this time lay the edge flat with the edge of the pie pan. Dip your fork in a little flour and press into the edge of the crust. I like to go at a crisscross pattern, slightly overlapping where the tip of the prongs go. You can also go straight around the edge, making straight up and down lines. It's important that your crust is very cold for this; otherwise, you risk tearing it. Apply a decent amount of pressure to ensure the indent is deep, so it holds while baking. Let chill at least 30 minutes before baking.
Spoon Crimp
Start with the tucked edge flat against the edge of the pie plate and dip a spoon into a little bit of flour. With the spoon upside down, press it into the crust on the inside edge, then make a second smaller indent by moving the spoon toward the outside edge. Go all the way around to create a pretty scallop edge. Same as the fork method, it's important to keep the dough very cold to prevent tearing it. Let chill at least 30 minutes before baking.
After chilling, your beautifully crimped pies are ready to be blind baked and filled. Get ready for Instagram-worthy golden flaky edges and to be in charge of bringing the pies every year from here on out.
Makinze is currently Food Editor for Delish, where she develops recipes, creates and hosts recipe videos and is our current baking queen.. Reigning from Oklahoma, she's also our go-to for all things regarding Midwestern cuisine. She's also our expert pie crimper.


